Poincare Model of Hyperbolic Geometry
The second project in Chapter 1 involves using geometry software to construct the
non-Euclidean geometry called 'Hyperbolic Geometry.'
To begin, start up Geometer's Sketchpad. We will use a special file to study Hyperbolic geometry
in Sketchpad. This is the file PoincareDisk.gsp .
Click this link and download the file to your computer. Then, open it using Sketchpad.
You will see a screen with a large circle. This is the 'universe' for hyperbolic geometry.
Lines, segments, and circles have different definitions in this geometry,
so we must have custom tools for constructing these objects.
The custom tools are located under the Custom Tool button at the bottom of the Toolbar.
Here we see the variety of special tools we will need.

As an example, click on the 'Hyperbolic Segment' tool and then click and drag to create a hyperbolic segment. Note that this segment does not look like a 'normal' Euclidean segment. That is because it is not Euclidean!
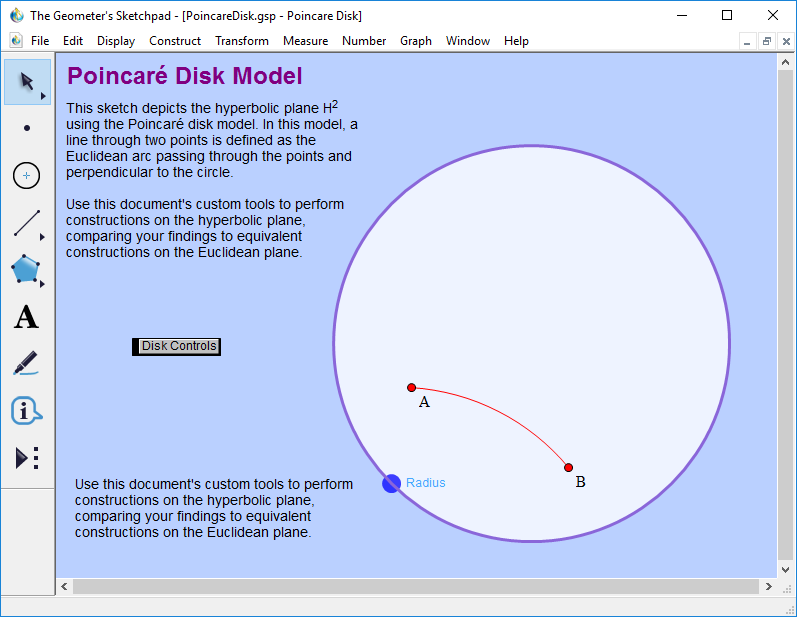
Hyperbolic Segments
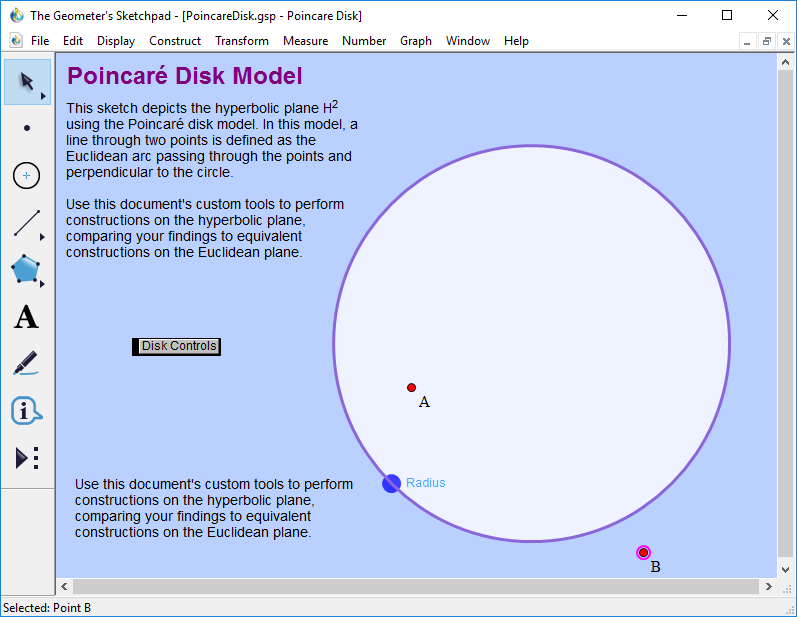
On page 45 of the text we discuss what happens to B as we move towards the circle.
If this software model were ideal, the point B would never leave the interior of the
circle. The points in this geometry are constrained to exist only inside the disk.
We do see that the segment does not leave the disk, which is accurate. But, it also
disappears! You will have to
imagine that point B cannot leave the disk.
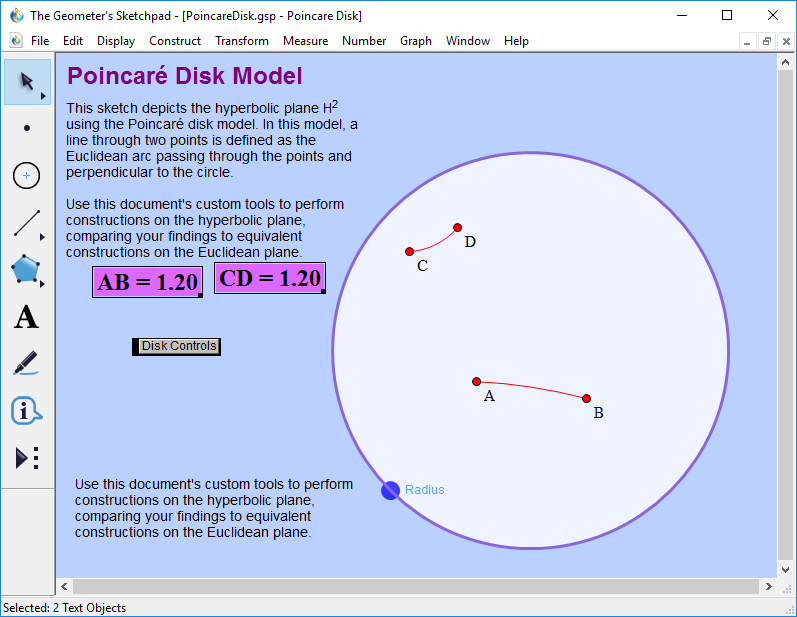
Hyperbolic Length
On page 45 we also discuss what happens to the length of a segment as it is moved around
in this hyperbolic geometry. Construct a segment AB near the center of screen. We can measure
the length of the segment by selecting the 'Hyperbolic Distance Measure'
item under the Custom Tool button.
Then, click on A and B and the distance measurement will appear.
The value of this measurement is the hyperbolic
distance from A to B. Next construct hyperbolic segment
CD near the edge and measure the hyperbolic distance from C to D. If we adjust C we
can make this second distance match the length of AB, although the two
'segments' look very different!
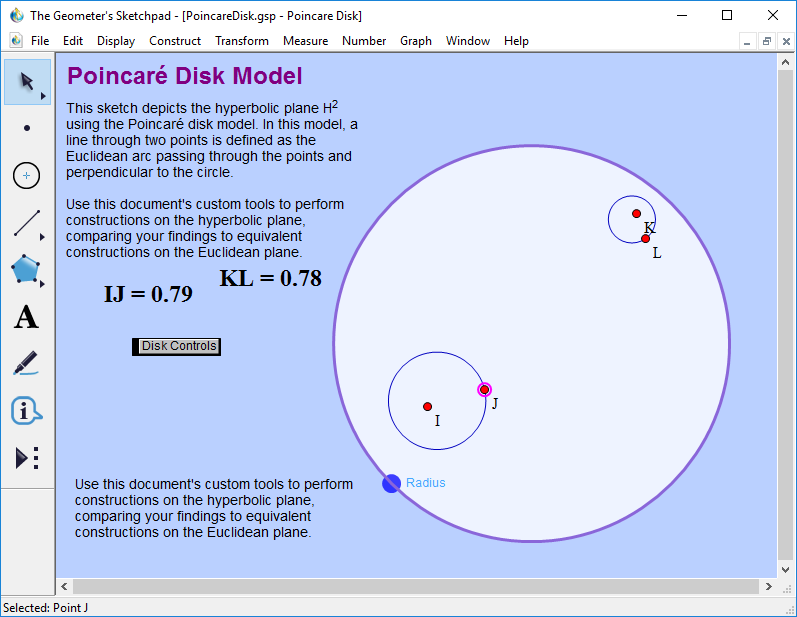
Hyperbolic Circles
On page 46, we create circles in this geometry and notice that circles of different apparent
sizes can have the same hyperbolic radii. We can use the Hyperbolic circle tool and
the Hyperbolic
distance to create circles with this property.
Hyperbolic Angles
On page 47, we look at what happens to angles as we move them
via hyperbolic motions. Since movement of points in the model
we are using is not really hyperbolic, we can simulate this by looking
at what happens to a right angle. Construct a hyperbolic line through A and B.
Attach a point E to this line. Choose the 'Hyperbolic Perpendicular'
tool from the Custom Tools. Click on A, then B, and finally E to
construct the perpendicular. If we move point A or B, we see that that the
constructed line remains perpendicular.

The remaining constructions and exercises in Project 2 should now be doable using the Hyperbolic Custom Tools. To measure angles, make sure to use the Hyperbolic Angle tool under the Custom Tools.